
How To Record Audio On A Mac: Everything You Need To Know
In this guide, I will show you how to record audio on a Mac.
There are different methods that I am going to share with you, step-by-step.
I will also give you some tips to improve your audio recording.
After reading this article, you will know exactly how to record audio on a mac and the best methods to do it.
As a bonus, I will give you some awesome tips to make the most out of your recording efforts.
Let’s get started…
How to record audio on a Mac
There are many different ways of doing this process.
Whether you are just a simple user, a podcaster, a music producer, a freelancer, or you’re shooting a product review, your Mac can do the job.
And I will teach you, step-by-step, all the different methods, from the easiest to the most advanced.
Some are built-in apps, and others are third-party apps you need to download.
Just take a look at all the different methods and pick the one that better suits your specific needs.
How to record audio on a Mac with Voice Memos
Recording audio with Voice Memos is probably the easiest way.
Voice Memos is a built-in voice recorder on all IOS devices.
It is accessible, user-friendly, and very convenient.
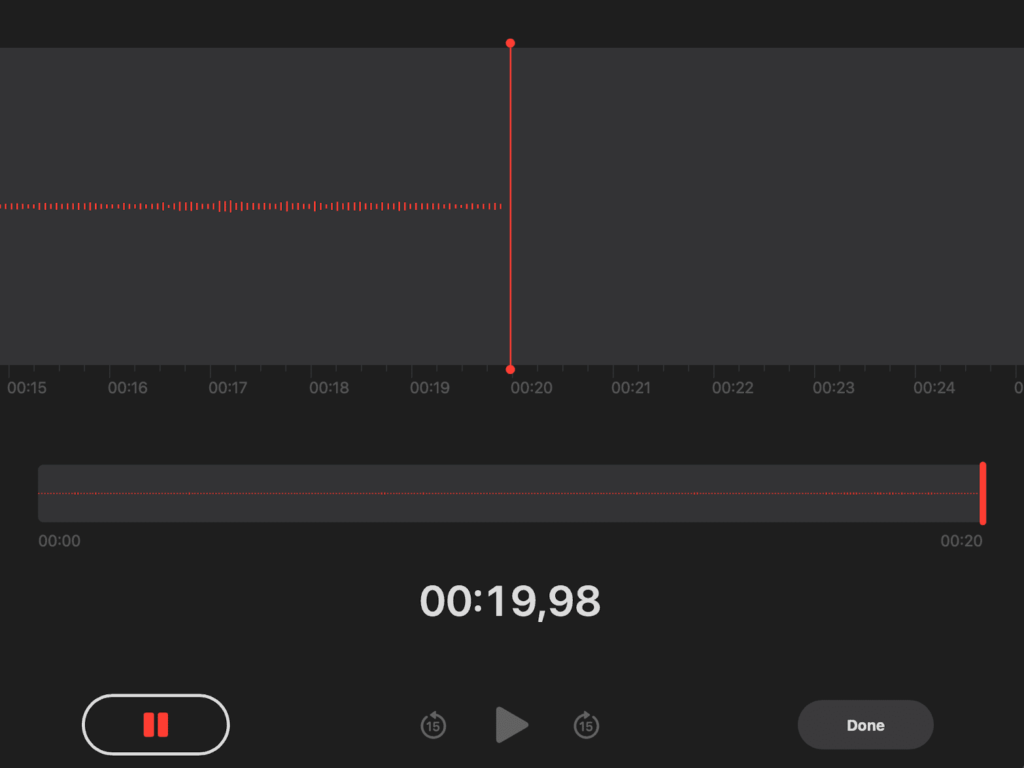
All you have to do is:
- Hit record
- Click Stop
- Save
There’s nothing simpler than this.
The App allows you to do some basic editing if you need to.
You can save the audio to iCloud and access it from your other Apple devices, such as your iPhone or iPad.
Voice memos are the perfect solution for beginners.
The app comes pre-installed on all mac devices, but you can also download Voice Memos on the app Store.
How to record audio on a Mac with QuickTime player
QuickTime is another built-in mac tool that allows you to record audio without downloading an app.
The tool is much more than an audio recording; you can also record videos.
People use QuickTime mostly as a video player, but you can also use it to record audio.
How to record audio on QuickTime player:
- Open QuickTime, click File, and choose “New Audio Recording“
- Click Record (click Pause and Play again if needed)
- Click Stop to finish recording
- Click Edit and Trim your audio if you need to
- Name your file and save it

It is super simple to use but offers a few more options than Voice Memos.
Quicktime allows you to select the recording quality and the microphone you want to use.
You can also use the volume slider to control the volume of the recording.
Download QuickTime on the AppStore
How to record audio on a Mac with Garage Band
If you are a mac user, you’ve probably noticed the Garage Band App.
This is a built-in free app for audio recording and music production.
Garage Band offers many functionalities, such as the ability to record high-quality podcasts, soundtracks, or just simple audio files.
The software is intuitive, but not as easy to use as the previous apps.
If you are aiming for more ambitious projects, Garage Band is worth your time.
Garage Band is popular among amateur musicians who want to record studio-quality tracks for free.
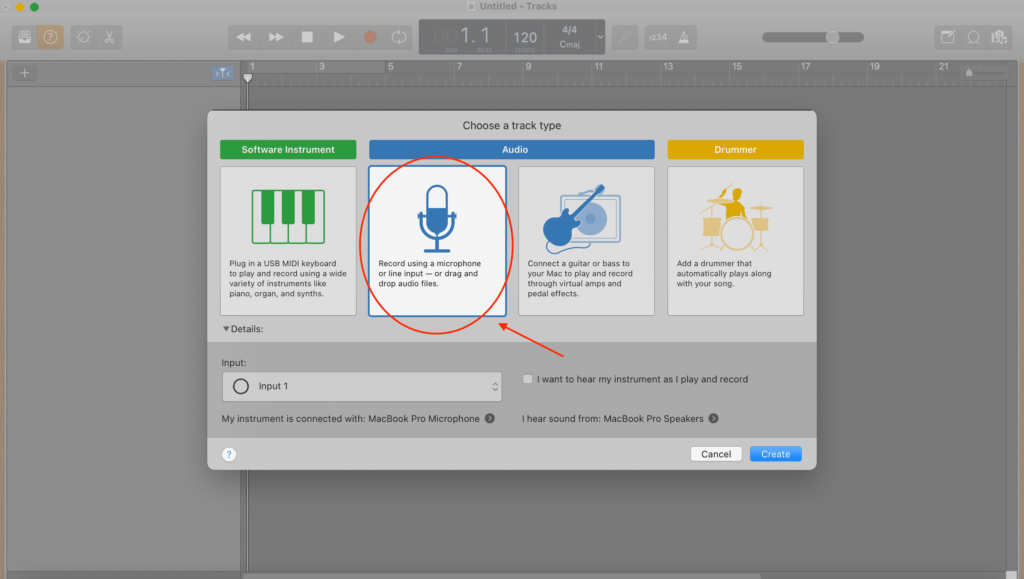
How to record audio on a Mac with Garage Band:
- Open the app and choose Audio as the track type
- Go to System Preferences > Sound, choose Input, and select the microphone you want to use (from your computer or external)
- Click Create New Music Project, name your file in Save As, and then click Create
- Go to Track > New Track (you can delete the first track if you want)
- Select Real Instrument Track and click Create
- Go to Track Info and select Vocals > No effects
- Click Record, then Pause and Play if you need
- Go to File > Save
You can download Garage Band on the App Store
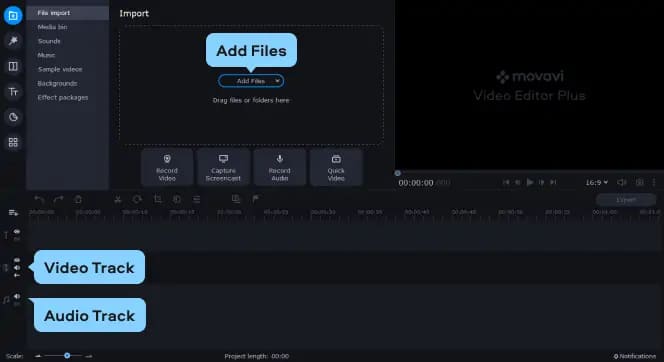
How to record audio on a Mac with Movavi
Movavi is a great solution if you want to record your screen with sound.
The software is a good fit for beginners, but also professionals.
If you need a solution to record your screen with an external mic, Movavi is perfect.
How to record audio with Movavi:
- Download and install Movavi
- Open the App and select Recording
- Choose Microphone or System Audio
- Click REC
- Use the editing tools to trim your audio file
- Click Export > MP3 and then Save
Movavi is an excellent option to record live audio streaming, podcasts, and tutorials.
The software is free, but you might want to consider upgrading for more features and remove the watermark on the video.
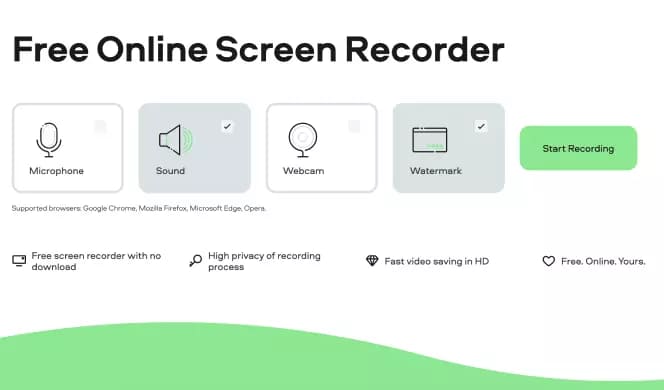
How to record audio with Screencapture
Screencapture is another software that allows you to record audio on a mac.
The app is free and you can record via a microphone, system audio, and activity on your browser.
It is similar to Movavi, so you need the premium version to remove the watermark on the video.
If you need a simple tool to record audio without video, it’s free.
How to record audio with Screencapture:
- Go to screencapture.com
- Choose the output (microphone or computer sound)
- Click Start Recording and Stop Recording when you finish
- Save your file or share it online
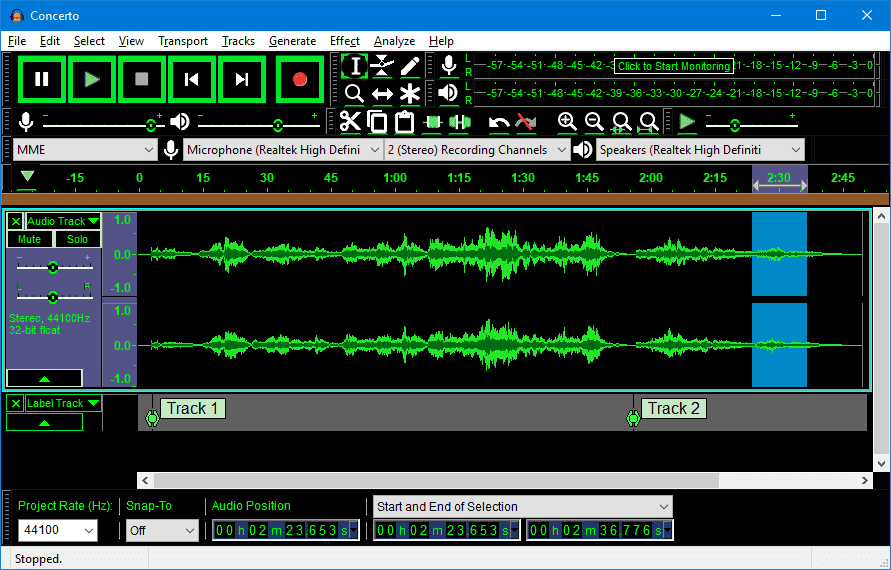
How to record audio on a Mac with Audacity
Audacity is an audio software packed with features for professionals.
It is free and allows you to use it on all operating systems.
The interface is not as user-friendly as others and is better suited for advanced editing.
Audacity is audio-dedicated software, so if you need advanced audio editing features, this might be for you.
How to record audio with Audacity:
- Download and install Audacity
- Go to Primary Sound Capture and check your microphone
- Click Tracks > Add New > Stereo Track
- Click the red circle on the top left to record
- Use the Pause and Play buttons if you need
- To edit the file go to Effects
- Go to File > Export and choose the audio format
- To export go to File > Export > Export Audio
Audacity is perfect if you need features like noise removal and track-based management.
It is also perfect for more demanding projects with voiceovers for podcasts or songs, for example.
7 Tips to Help You Record Audio on Your Mac Like a Pro
Setting up your Mac to record audio can be tricky if you don’t know how to do it.
However, with just a few simple tips, you can get the sound quality you need from your computer.
To get started recording audio on your Mac, here are 5 tips to help you do it like a pro!
1) Know what you want to do before you start recording

The first step in recording audio like a pro is knowing exactly what you want to do and why.
There are certain microphones, software, and techniques that work better for specific types of audio recordings—getting it right will take some research.
If you know exactly what you’re trying to accomplish, how long your podcast or presentation will be, and how much money you’d like to spend (even if that number is zero), then finding what you need will be easier.
The more time you put into pre-production, the less time you will have to spend editing—and that means more time spent making actual podcasts instead of hearing yourself think.
2) Get Your equipment right
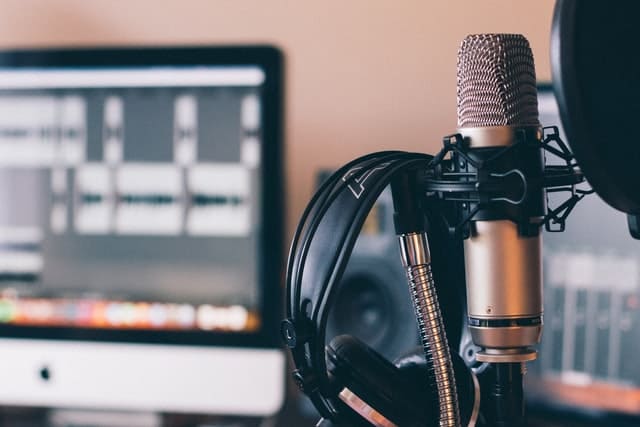
Investing in good equipment is paramount.
When you are recording at home, it is important to have equipment that won’t compromise your audio quality or produce unwanted background noise.
Be sure you have access to an external microphone preamp if you don’t have one built into your computer.
This will ensure that your recordings are clean and crisp without any unnecessary static or interference. Also, keep in mind how many people will be speaking simultaneously when choosing which mic to use.
If two people are talking back and forth with each other, for example, a large-diaphragm condenser mic would be best because of its ability to pick up sounds from far away as well as close-up ones.
A small-diaphragm condenser mic would work best for solo voice-overs and podcasts where only one person is speaking at once.
3) Use external sound sources
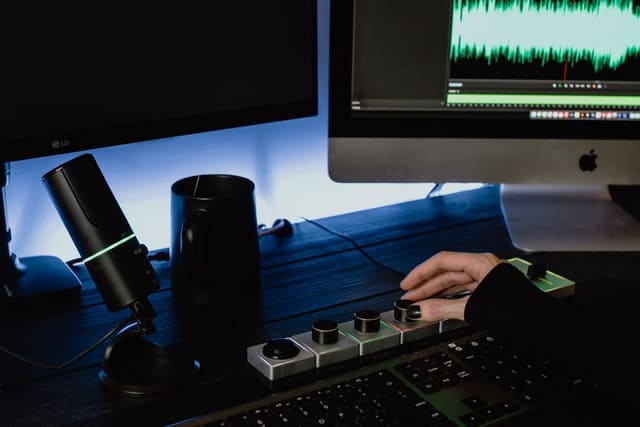
The audio source is more important than you think when it comes to recording quality audio.
If you’re recording directly from your computer, that’s going to be your primary issue. Ideally, use an external sound source, like a guitar or microphone plugged into your computer (assuming you have all of these materials available).
If not, another strategy is to plug headphones into your computer and record there. This may still result in lower-quality audio but can often yield better results than using built-in sound sources.
4) Find a quiet environment
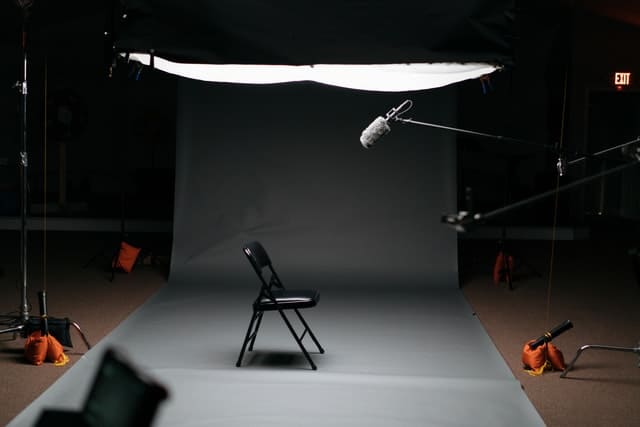
Recording audio can be tricky, especially if you’re still new to it.
If there’s too much background noise while you’re recording, you can end up with annoying echoes and feedback that detract from your final product.
To avoid these problems when you record audio, find an environment where there is as little noise as possible. Use a quiet room or closet that has minimal exposure to street noises or passing cars.
The less distraction around you, the better chance of getting clean audio clips out of your recordings.
5) Organize your sounds files

Before you can record audio, you need to have all of your sound files organized.
That means having your raw audio recordings in one place, as well as a separate folder for edited versions of those same sounds.
Make sure that these files are labeled appropriately so that you can find what you’re looking for later. Once everything is in order, make sure they’re backed up in two or three different places and you’re good to go!
5) Get your post-production right
If you record some great audio but don’t do much with it, then you haven’t captured anything.
This is why it’s so important to get your post-production right.
No matter how good your source sound is, you can always add value and fix problems in post-production.
Here are our tips for improving your recordings in post-production:
Make sure your levels are good:
Before you even hit record, set up a gain structure that gives you good headroom—you want to be able to capture everything without distortion or clipping.
Use reference tracks when editing:
It’s easy to lose perspective when editing long sessions, so use reference tracks—preferably something from an album or film soundtrack—to help maintain objectivity and make sure that what you are doing makes sense musically.
Don’t stress about it.
Getting started with audio recording can seem intimidating.
There are all sorts of mic options and software programs, not to mention plenty of opinions about which one is best.
I suggest taking a deep breath and asking yourself what you’re trying to accomplish before you even touch your computer.
If you have no idea where to start, I think it’s safe to say that you needn’t stress out over getting every technical detail right—you want (good) sound, right?
Conclusion
Recording audio on a Mac is easy, and there are many ways of doing it.
The built-in apps like voice memos allow you to do the job if you need something simple.
If you need more demanding features to edit, then Movavi and Audacity might be some good choices.
Everything depends on what you want.
More advanced tools allow you to do more but add an extra layer of complexity.
To record simple audio I wouldn’t use anything other than Voice Memos.
But if you are more serious about recording projects, go ahead and learn how to use the right software.
I hope this guide was helpful and that now you are equipped with the knowledge to record audio on a Mac.

